 What Sets a Quality Dental Clinic Apart from the Competition?
  What To See In Vape Delivery Before Ordering Vape Products
  Tips To Set The Time On Your Omega Swatch Watch
  How To Edit Food Photos For A Professional Finish
  7 Reasons To Invest In Luxury Residences In Dubai
  The Versatility Of Chain Link Fences In Modern Design
  A Guide To Finding The Perfect Vape Flavor
  5 Essential Features For Modern Kiosk Design
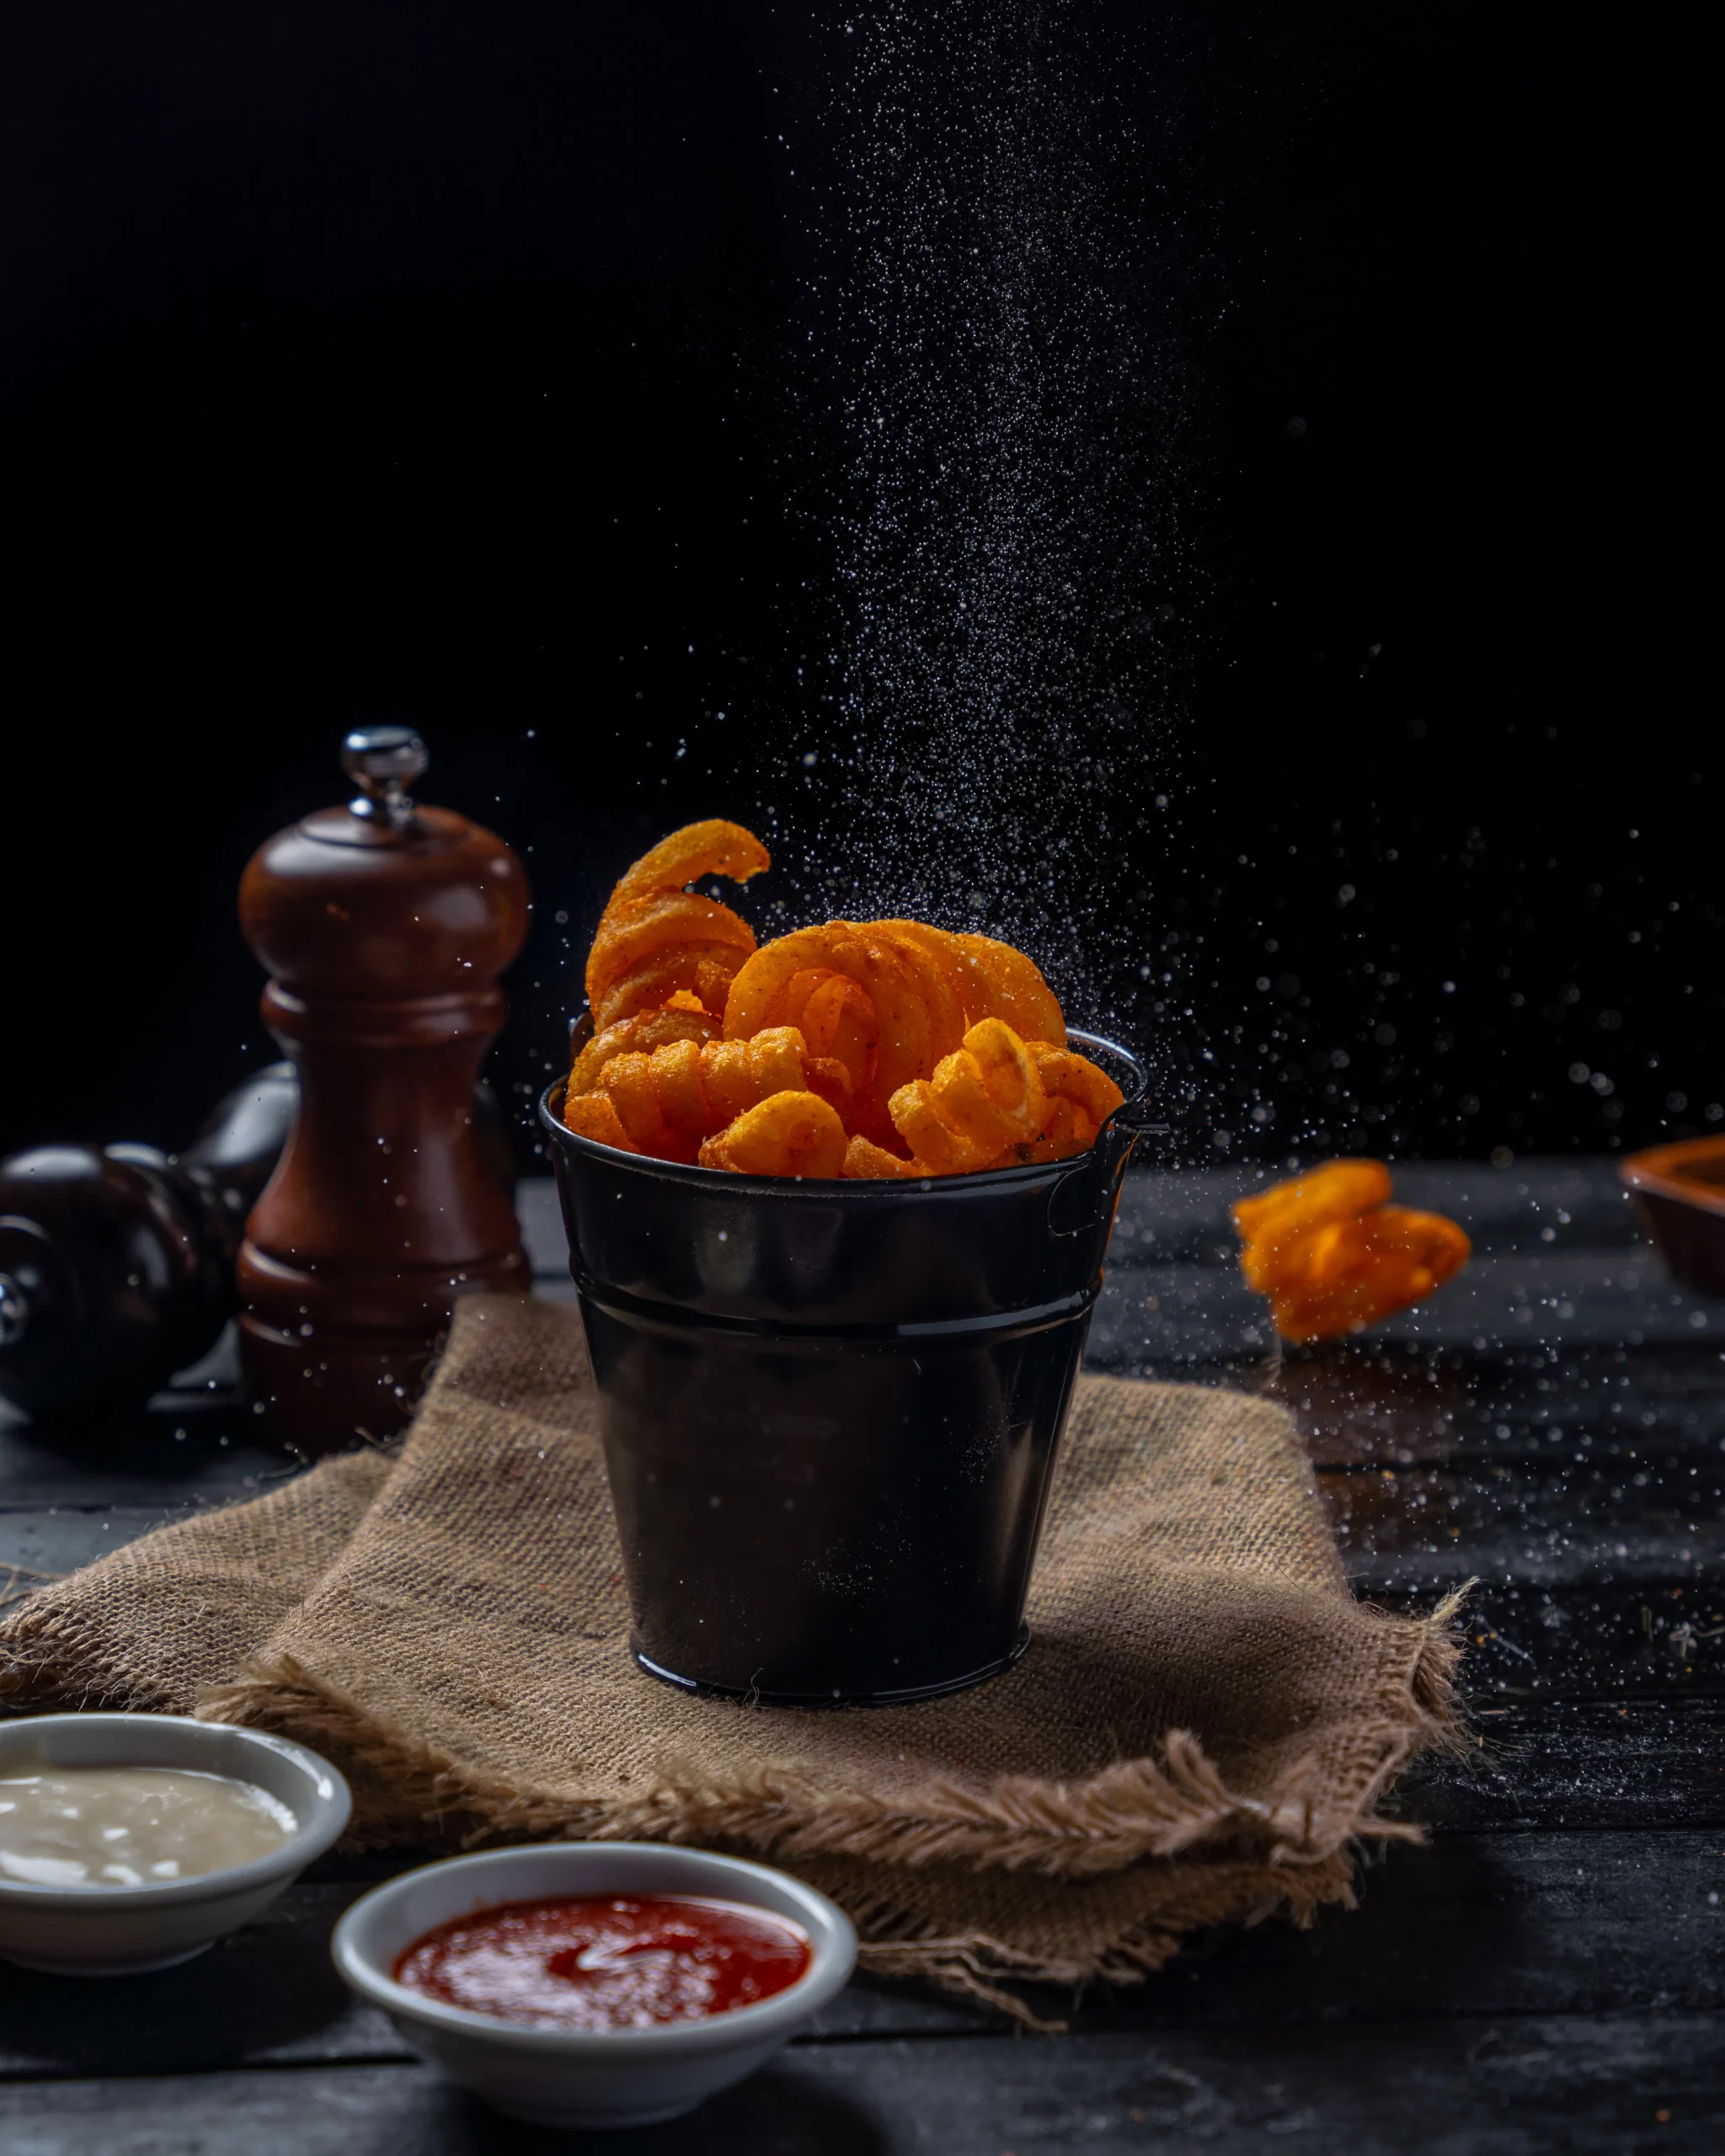
As a food photographer or even just someone who loves taking photos of their meals, it’s important to know how to edit your food photos for a professional finish. Editing can take your photos from basic and boring to eye-catching and mouth-watering.
While capturing the perfect shot is important in professional food photography, post-processing allows you to fine-tune your images, bringing out their best features. Here are some tips on how to edit your food photos like a pro:
Adjust exposure and brightness:
When you begin editing your food photos, the first step should be to assess the exposure and brightness. Sometimes, images may appear too dark or too light straight out of the camera. By adjusting the exposure, you can ensure the dish looks well-lit without overexposing the highlights or losing important details. Brightness adjustments also help bring out the rich colors in the food, making it look fresh and delicious.
Improve color and saturation:
Food photos often benefit from a boost in color saturation. Improving the colors can make the food appear more vibrant and visually appealing. However, it’s important not to go overboard. Excessive saturation can lead to unnatural-looking food that doesn’t resemble the real thing. Instead, focus on subtly boosting the colors, particularly the greens and reds, which are commonly found in many dishes. You can also adjust the white balance if your photo has a color cast that distorts the food’s true colors.
Sharpen details:
Sharpening is one of the most effective ways to make your food photos pop. These techniques helps bring out the textures in the food, making the dish appear more enticing. Whether it’s the crispiness of fried chicken or the smoothness of a creamy soup, sharpening your photo allows the viewer to appreciate the finer details.
Correct the composition:
In post-processing, you can also fine-tune the composition of your photo. If your shot was slightly off-centre or if there are distracting elements in the frame, cropping can help focus the viewer’s attention where it belongs. Align the subject using the rule of thirds or centre it for a more balanced composition. This adjustment can help ensure your food looks perfectly presented in the final image.
Smooth out imperfections:
Sometimes, small imperfections like crumbs, water spots, or unwanted reflections can detract from an otherwise great food shot. Use the cloning or healing tool in your editing software to remove these imperfections. This step can help clean up the image, leaving only the food as the focal point, contributing to a polished, professional food photography result.